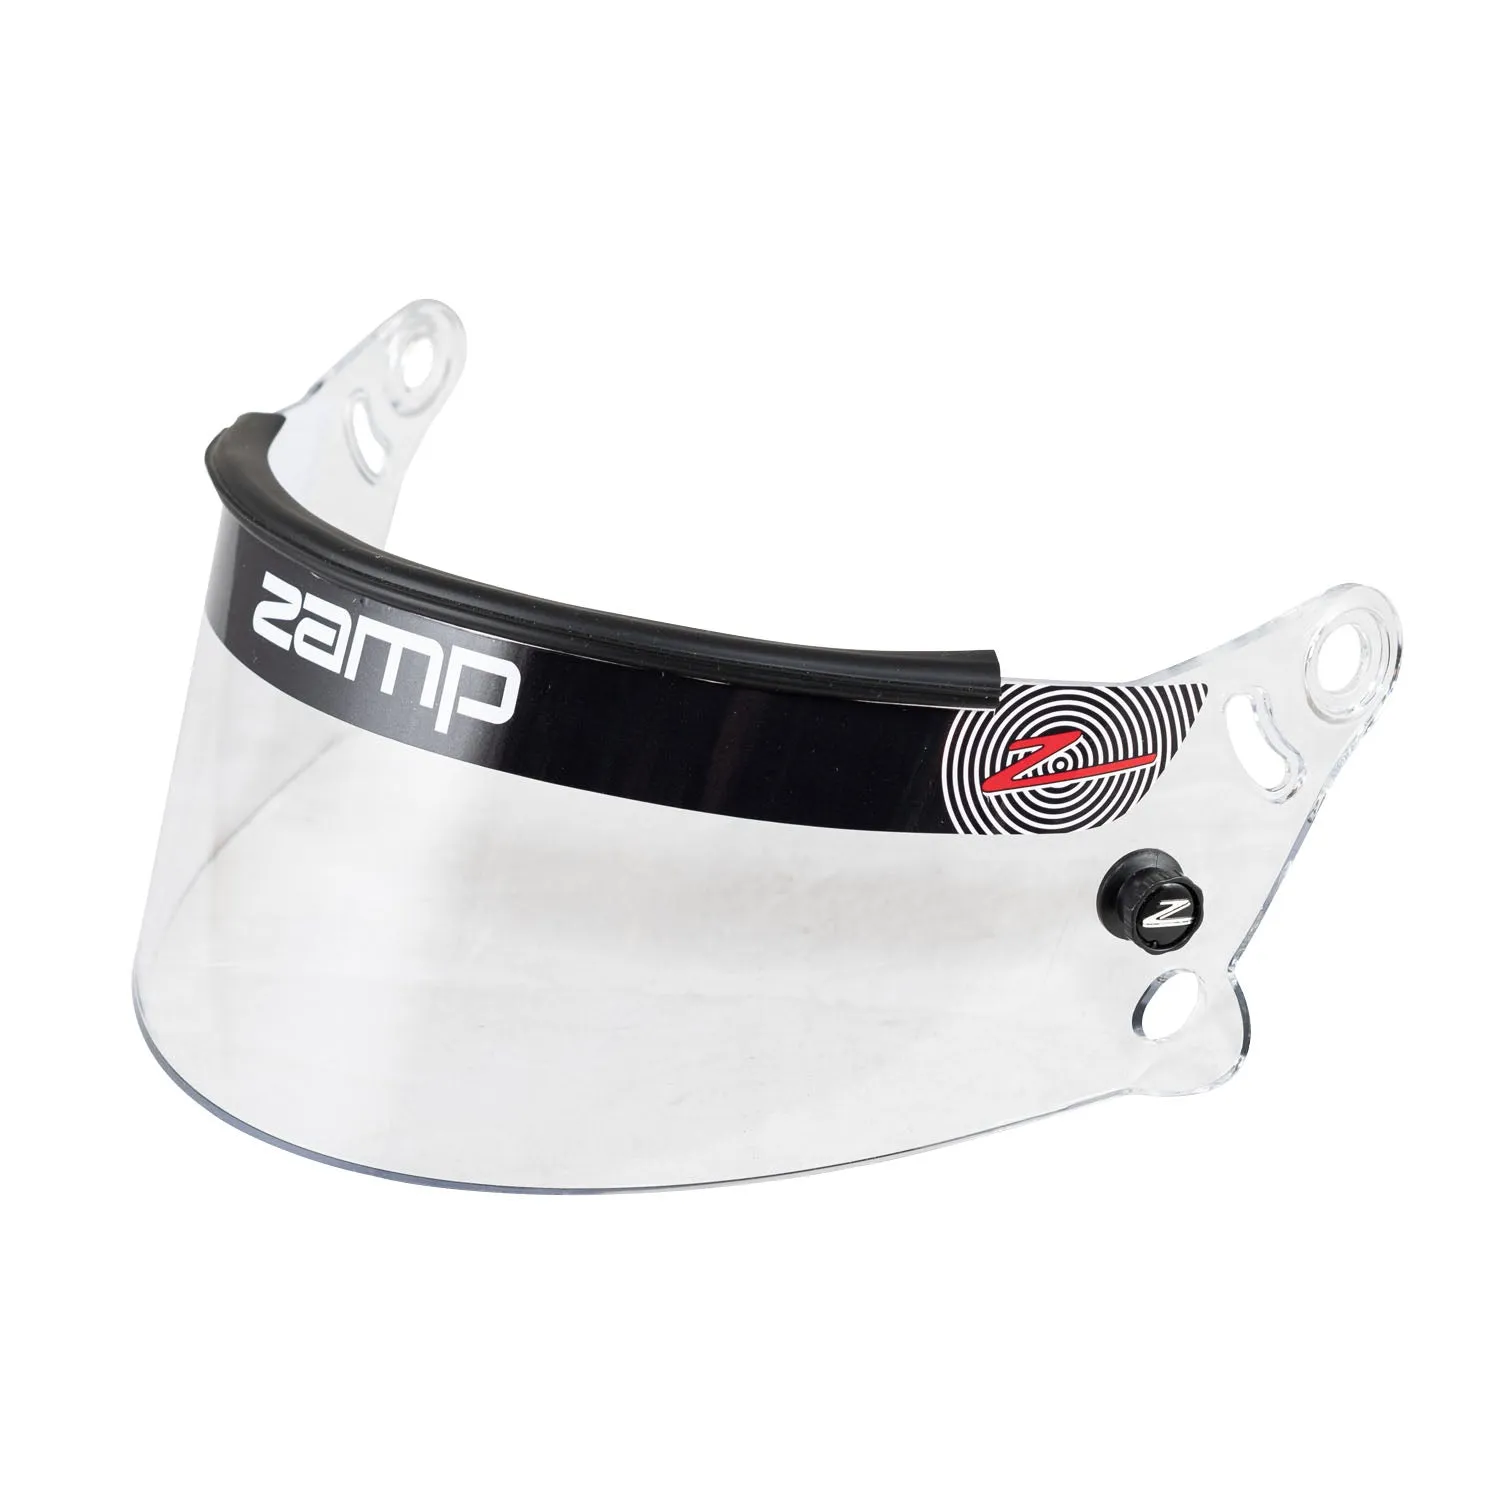
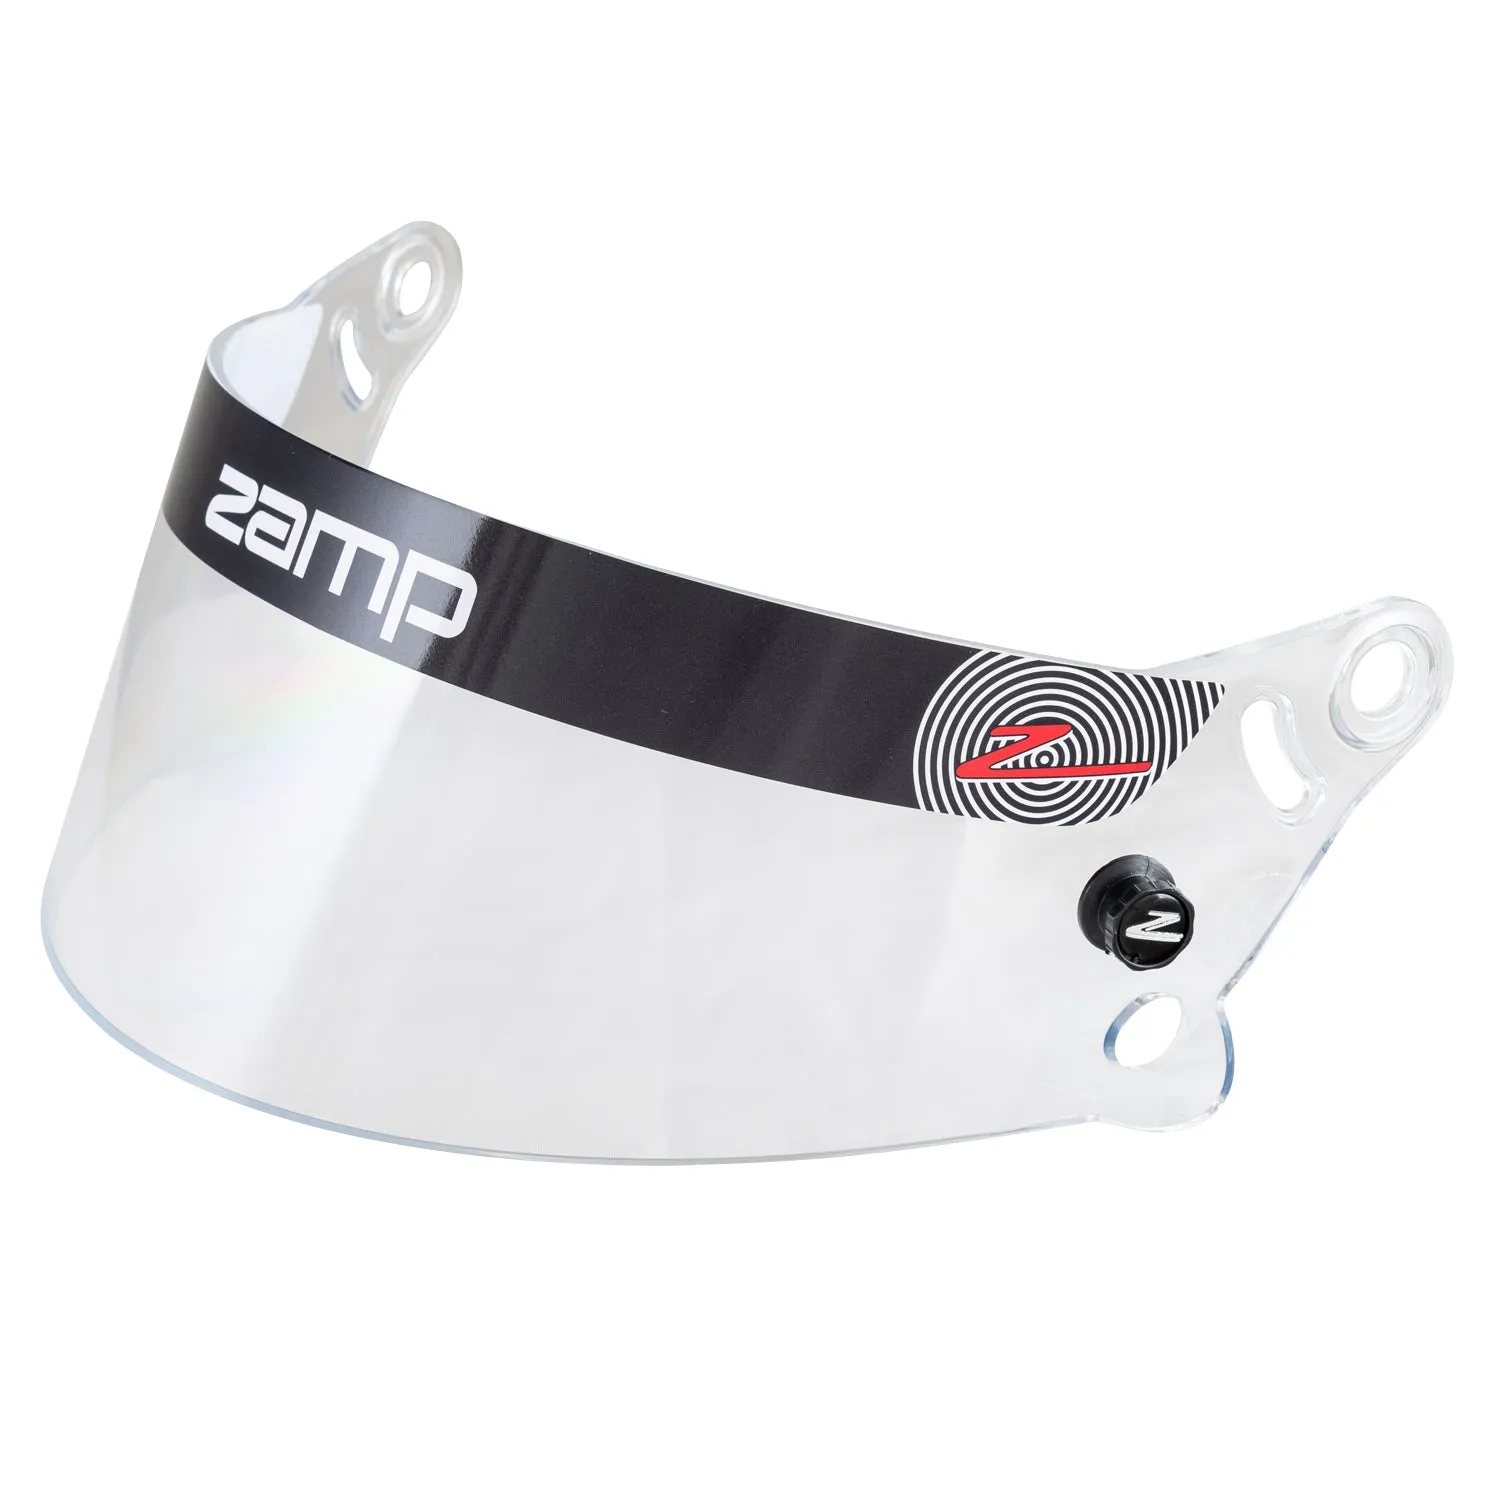
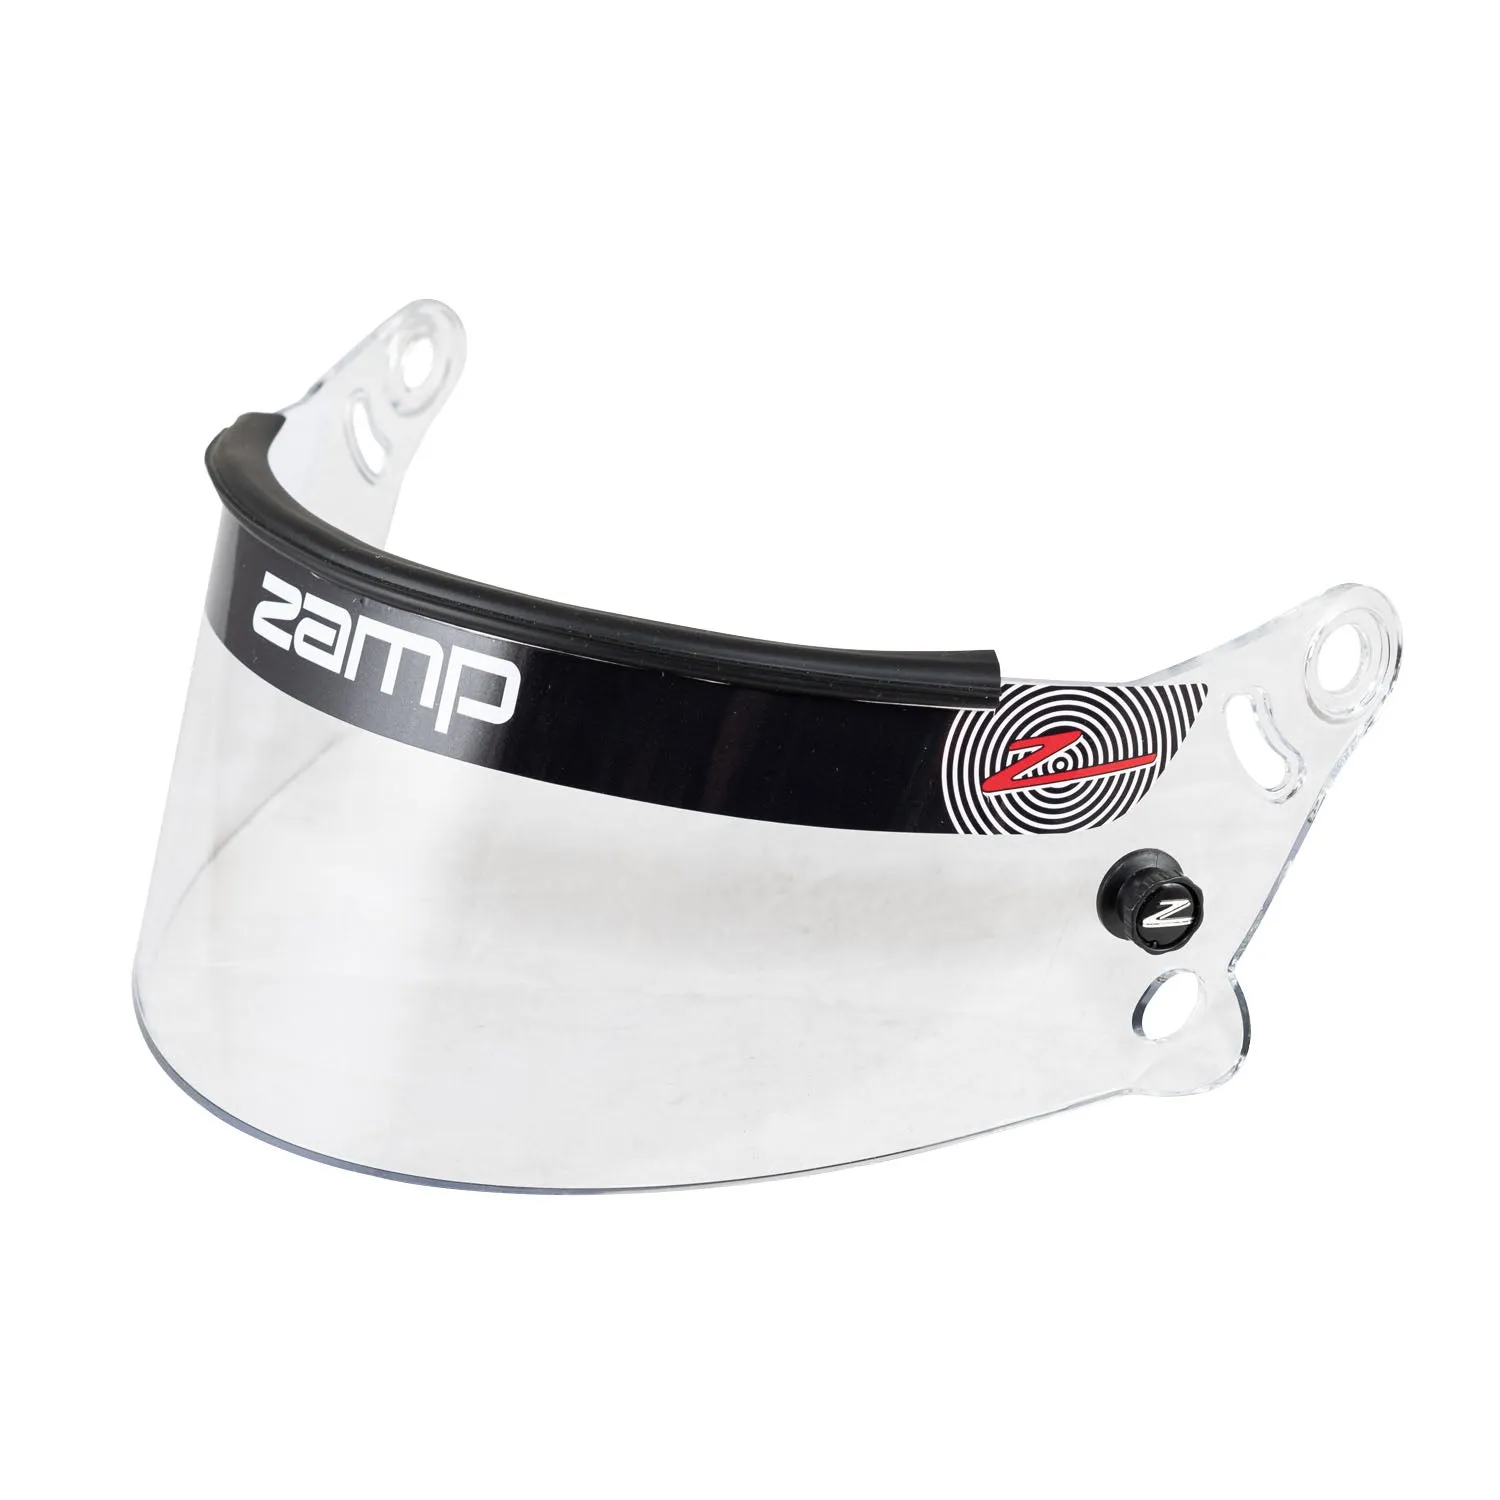
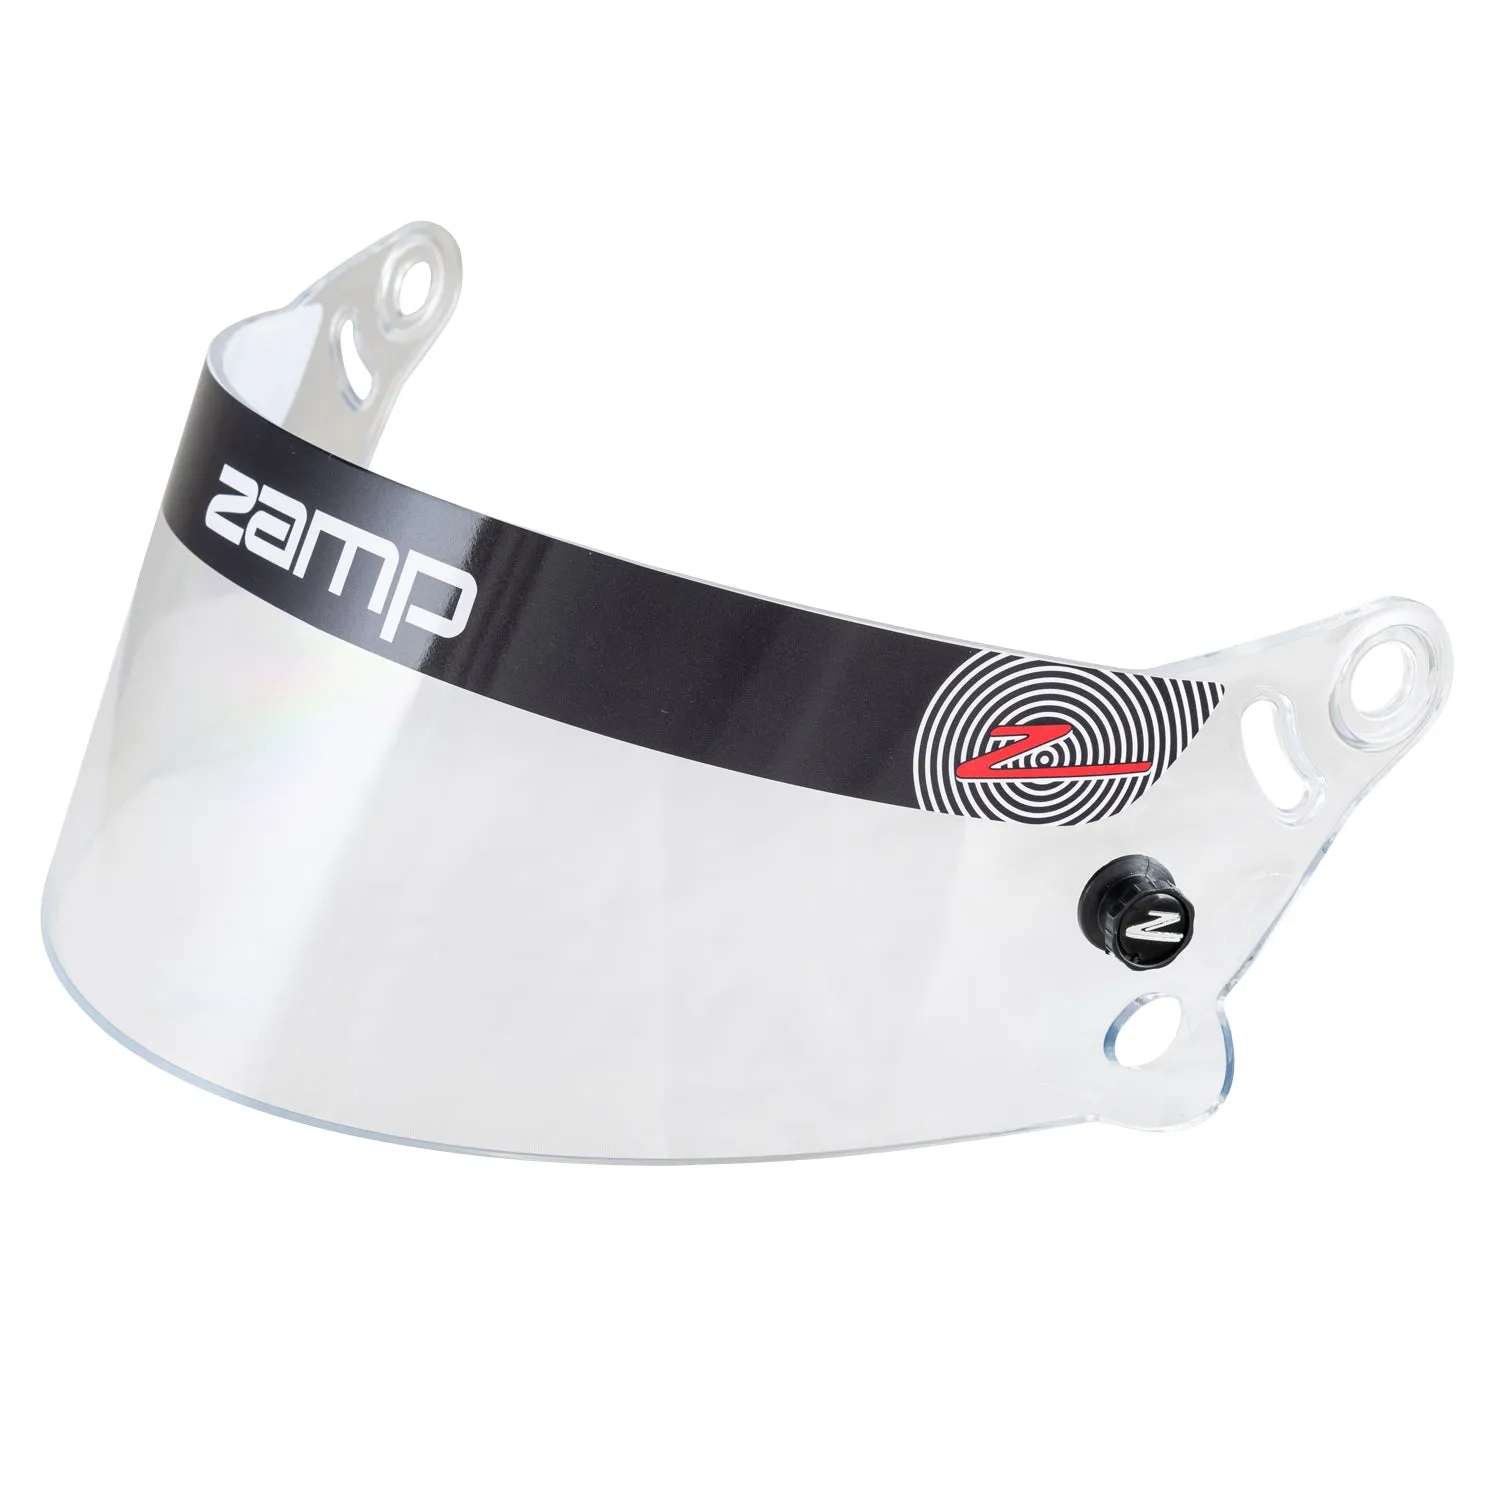
These DIRT-specific Z-20 Series Shields are built to seal and prevent dirt and debris from entering your helmet through the top of the shield.
Zamp-Racing recommends that you periodically change shields for better vision and safety.
- Manufacturer part number:
- HASZ20CLDIRT (Clear)
- HASZ20CLAFDIRT (Clear Anti-Fog)
- ZAMP Z-20 Series DIRT Shield Fitment Guide:
- Zamp RZ-36
- Zamp RZ-36 Dirt
- Zamp RZ-36 Air
- Zamp RZ-37Y Youth
- Zamp RZ-42Y Youth
- Zamp RZ-42Y Youth Graphic
- Zamp RZ-56
- Zamp RZ-56 Air
- Zamp RZ-59
- Zamp RZ-60
- Zamp RZ-60V
- Zamp RZ-62
- Zamp RZ-62 Graphic
- Zamp RZ-62 Air
- Zamp RZ-64C
- Zamp RZ-65D Graphic
- Zamp RZ-70E Switch
- Zamp RL-70E Switch
Z-20 Anti-Fog vs Standard Shield Comparison video:
NOTE: DO NOT USE power tools or overtighten screws when changing shields.
Step 1 - Lay a towel on a flat surface and set the helmet on it.
Step 2 - Remove the shield pivot tensioners on each side. (This is the smaller crew on the sides of the shield.)
Step 3 - Remove the shield pivot screws on each side. (This is the larger screw on the sides of the shield. For best results, we suggest using a quarter to loosen/tighten these screws).
Step 4 - Remove the shield. We suggest using a soft cloth towel to wipe down the rubber seal as well as where the shield mounts to the helmet for best results.
Step 5 - Place the new shield on the helmet. There are two white washers that go between the shield and helmet, make sure these are in place before re-installing the shield pivot screws.
Step 6 - Hand thread the shield pivot screws to hold the shield in place. Once hand threaded, use a quarter to tighten until snug with the helmet shell. Do not over-tighten.
Step 7 - Hand thread the shield pivot tensioners, then tighten to desired tension for shield movement.


